Presentation Slicers
Continuing from the previous example, this section explains how to add data interactivity options to your presentation.
There are various options for adding slicers to presentations:
- Add an existing slicer that was built in Discover (see below)
- Build a new slicer on the fly in Present
- Configure an advanced slicer in Present
- Add Hidden Slicers, rather than on-slide slicers
- Add multiple slicers and cross filter them to create a cascading slicer effect
- Add multiple slicers and apply cross highlighting to them
Slicers in Present are configured by applying interactions from slicer to visual, and from slicer to slicer.
See the instructions below to learn how to add an existing slicer from Discover to a slide in Present.
Add Slicers from Discover
Adding slicers from Discover to presentations is a simple process achieved in just a few steps.
Step 1
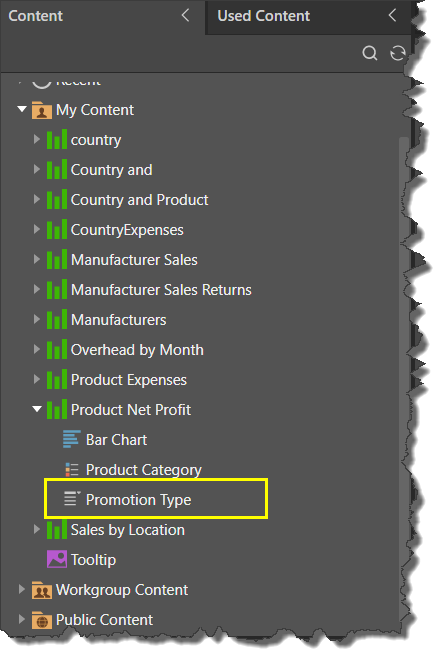
To add existing slicers to other slides in the presentation, find the required slicers in the Content panel (yellow highlight below).
Step 2
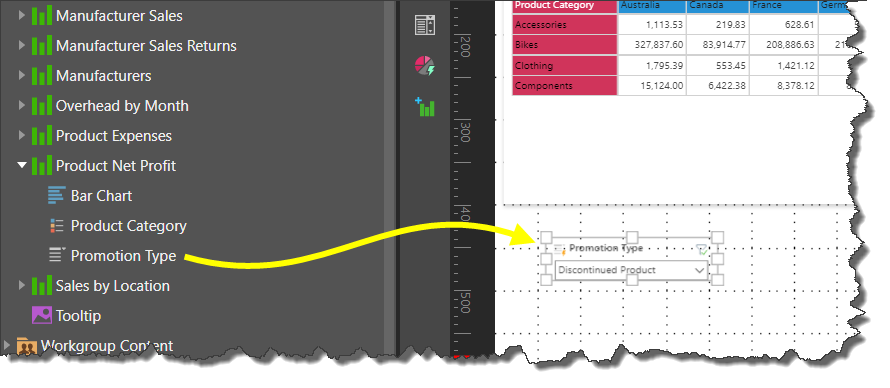
Drag the slicer onto the canvas (yellow arrow below).
Step 3
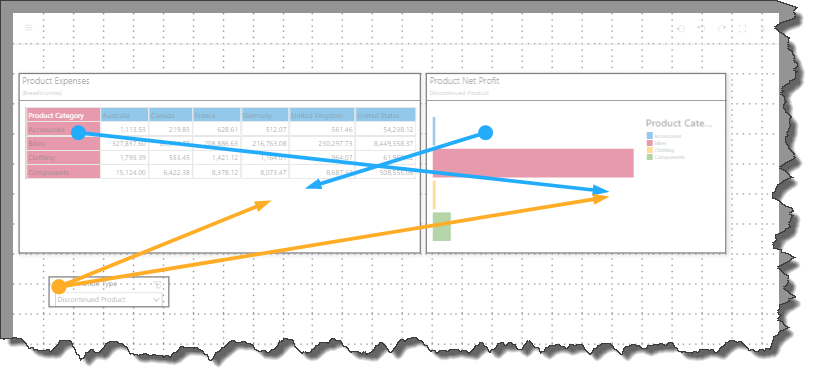
Add interactions between the slicer and any visualizations that the slicer should filter.
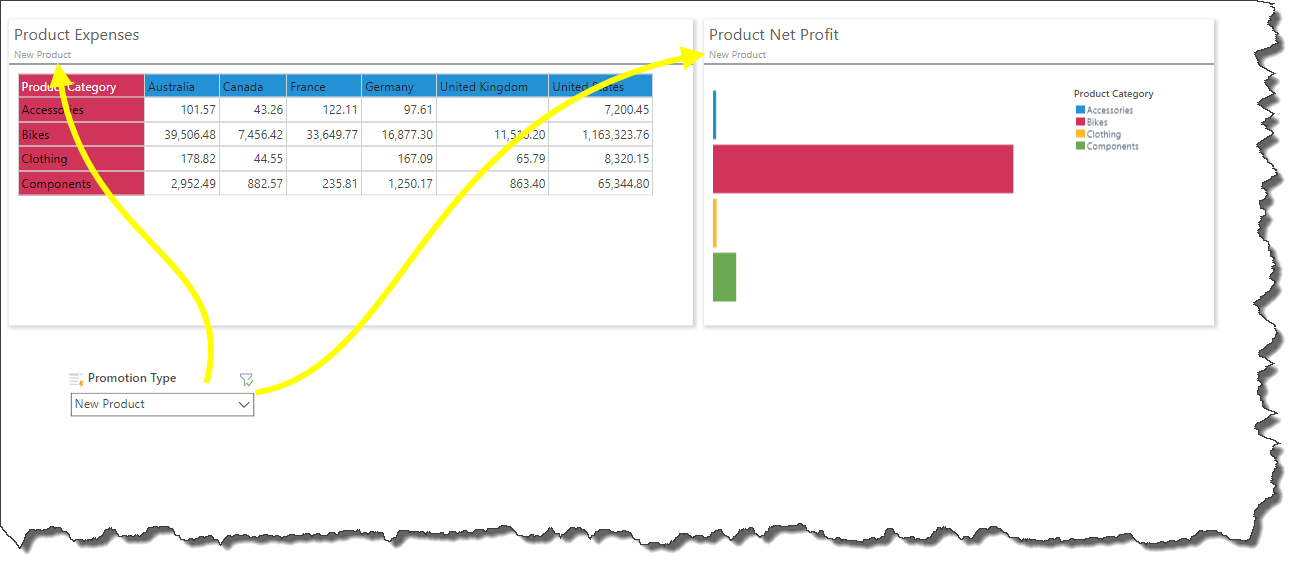
To test your slicer, launch the presentation in runtime.